
5 EQ Tips for Beginners to TRANSFORM Your Mixes (2022)
In this article, we’ll explain 5 incredible EQ tips for beginners that will dramatically improve your mixes.
EQ is a crucial part of the mixing process, and if done correctly can breathe life into an otherwise dull, thin-sounding track.
However, it’s also a mixing tool that trips up a lot of beginners. If a track is poorly EQ’d, it can completely ruin the vibe and atmosphere of the final mix.
Therefore, it’s important that you get your head around the basic concepts of EQ, and begin applying these concepts to your own tracks. If you’re a beginner, mixing in general is a skill that requires time, patience and dedication, but these EQ tips should hopefully speed up that process.
So without further ado, here are the 5 best EQ tips for beginners in 2022, that will transform your mixes into balanced, professional-sounding tracks.
Note: I will be using FabFilter’s Pro Q 3 to demonstrate these tips, but all the tips apply to any EQ plugin.
The 5 Best EQ Tips for Beginners in 2022
1. Carving out space for other sounds
One of the biggest mistakes beginners make while EQ’ing is adding EQ to each sound in solo so it sounds good on it’s own, and then wonder why the entire mix sounds like a complete mess.
You need to be mixing your sounds in the context of the entire mix. This can mean carving out space for other sounds to give them more room to breathe.
A great example of this is carving out space in your kick and bass sounds so they fit together better in the mix.
It’s very common that a kick and bass sound will occupy the same frequency range, which can lead to a muddy mix once you start adding more and more sounds into the track.

So, we can boost the low-end of the kick to emphasise the body and power of the kick, and then cut above this range to leave room for the bass (above).
We can also boost at around 10k hZ as well to give the kick a little more high-end clarity.
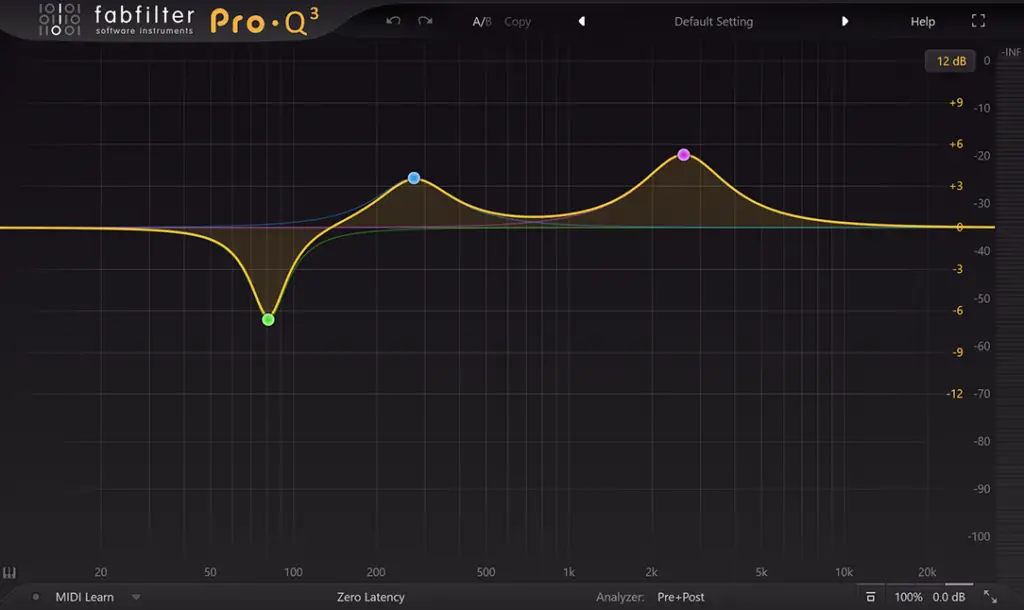
Then for the bass, we can carve out the frequency that we boosted on the kick drum so the kick cuts through the mix more clearly (above), and boost in the area we carved out in the kick drum. We can also boost in the mid-high range to add presence to the bass tone.
This example is a very simple representation of a much bigger concept, which is you want to be carving out space for other sounds so that sounds don’t take up the same space too often.
Another good example would be making space in the EQ of a piano or guitar to make room for vocals.
Remember, you need to shape the frequency spectrum within the context of other sounds playing at the same time.
Advanced tip: If you want to get a bit more advanced, you can even sidechain EQ so that a space is carved out only while the other sound is occupying that space.
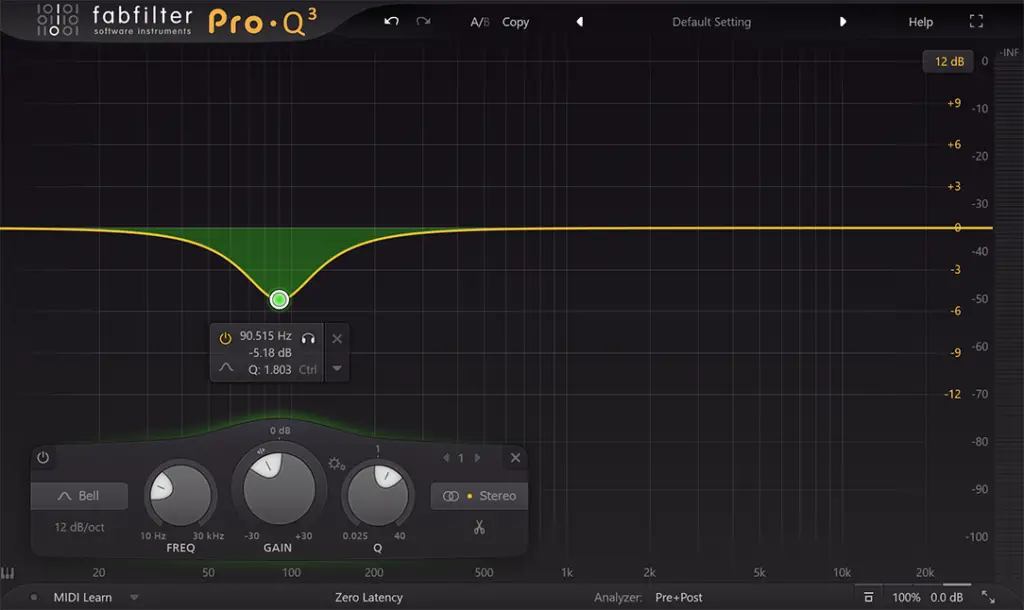
2. Finding Muddy Frequencies
This EQ tip is quite simple to execute, but incredibly useful for identifying and removing resonant frequencies that may be affecting the mix.
So let’s say you have a sound with quite a muddy, resonant low end. A lot of the time this will be caused by a specific frequency that you need to carve out.
One really easy way to find this pesky low end frequency is to create a narrow EQ boost (above), play the track, and essentially sweep along the lower frequencies until you hear excessive distortion.
If you find a spot that really starts to sound nasty and distorted, you know there’s probably some unwanted resonance here.

So then all we need to do is cut the EQ at this frequency, and this can often fix up a muddy low-end of a sound.
This technique also applies if there’s a high-end resonance issue with a sound. In this case you can sweep through the higher frequencies until you notice any excessive distortion.
3. Rely on your ears not the EQ analyzer
Now you might be wondering: surely if you’re using a plugin like FabFilter Pro-Q you can spot these resonant frequencies on the EQ analyzer.
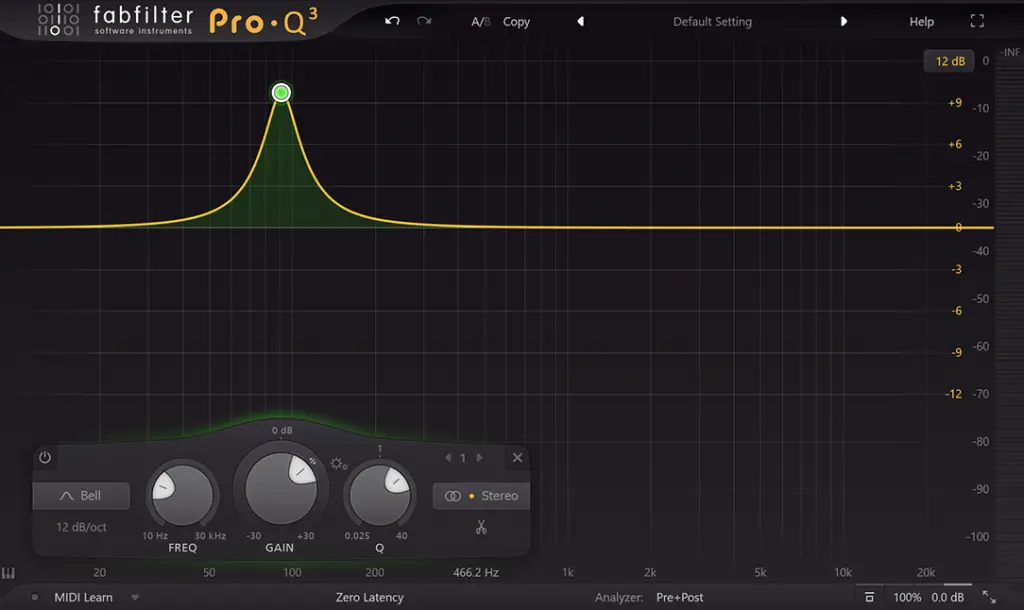
Firstly, a lot of EQ plugins don’t have an analyzer as accurate and detailed as this one. Pro-Q 3’s Spectrum Grab feature is incredible for locating and removing frequency peaks or resonance. However, almost all other EQ plugins do not have this feature.
And secondly, you should always try to rely on your ears NOT the EQ analyzer.
Every mix is different. Every sound is different. The analyzer is simply not going to give you enough information to produce good results if you’re completely relying on it.
At the end of the day the analyzer is just data, and while it can be really useful for certain things, you’ll have significantly better results relying on your ears and your intuition.
Only you know the vibe and the atmosphere of the track you’re going for, and the frequency analyzer isn’t really going to help you with that.
If something sounds good, it sounds good. And the more you practice using your ears to shape your mixes, the faster you’ll become at creating balanced, professional-sounding mixes.
4. Which comes first: EQ or compression?
This is a commonly-asked question amongst producers, and (generally speaking) the answer is usually EQ first then compression. Although there are definitely situations where it makes more sense to add compression first.
An alternative approach is to add 2 separate EQ’s; one before the compression and another after.
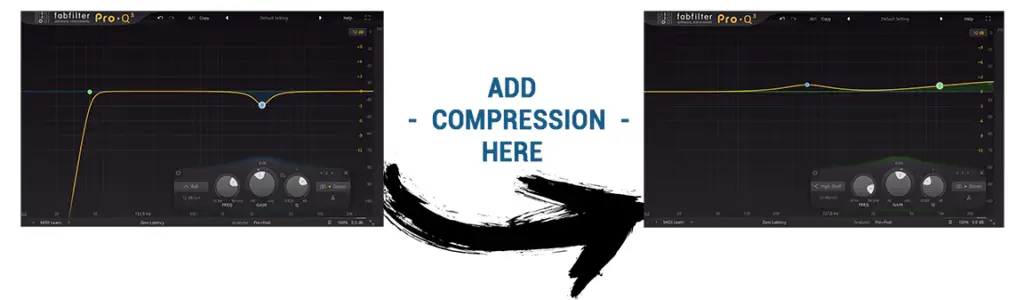
This method was an absolute gamechanger for me, as it allows you to emphasise the important parts of the EQ spectrum while making sure any unwanted frequencies aren’t sent to the compressor.
So the first step is to add EQ to the sound to remove problematic frequencies. This can include carving out resonant frequencies or high-passing the sound. This should be done before compression as you don’t want to send any unwanted frequencies into the compressor, which can often make those frequencies even worse.
After the EQ, then add your compression plugin.
And finally, after you’ve added compression, you can then add another EQ plugin to boost certain frequencies to enhance the sound. This final EQ treatment won’t be affected by the compressor so you can finetune and perfect the final EQ of the sound.
This method gives you a HUGE amount of control over the final mixed sound. So if you’re learning to mix and playing around with EQ and compression, I’d definitely give this method a go.
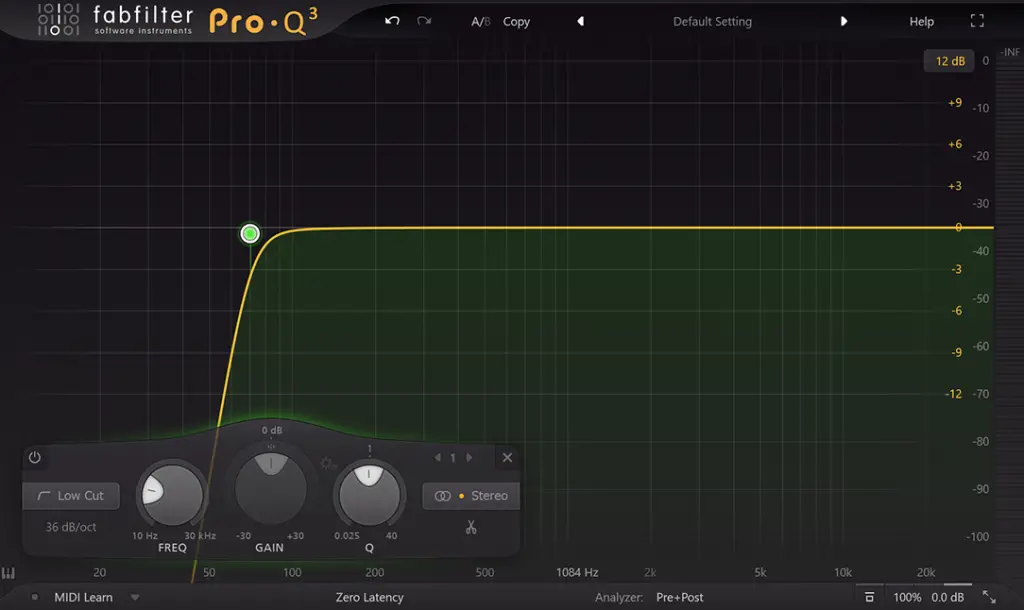
5. High-pass is your friend
The last EQ tips for beginners is to make sure you’re using high-pass filters.
Using high-pass filters is a fantastic technique for removing unwanted noise and audio artefacts such as AC or rumble.
A high-pass filter is a simple, but effective EQ curve that removes unwanted low frequencies from an audio source. This becomes particularly beneficial when you’re working on vocals or other recorded audio tracks.
Virtually all professionally mixed vocals will have a high-pass filter, as there’s just no need for the very low-end of the sound.
Vocal mixes don’t tend to include the frequencies in the low-end region, unless you’re recording some sort of natural acoustic type song and want that raw, unfiltered feel (although even then you’d probably add a light high-pass filter or low-shelf filter).
By adding high-pass filters, you are opening up the low end and giving things like the bass and kick drums room to breathe.
You should usually add high-pass filters to sounds like vocals, cymbals, hi-hats, high lead synths etc.
However, make sure you don’t add high pass filters to too many sounds otherwise the track as a whole will lose a lot of its body. When you want to retain some of the low end, use a low shelf filter instead.

5 EQ Tips for Beginners to TRANSFORM Your Mixes: Similar Articles
5 Biggest Mixing Mistakes and How to Fix Them
How To Mix Vocals like a Pro in 2022
How to Mix Bass To Achieve the PERFECT Low-End (5 Quick Tips)