
How to Use Compression | Tutorial For Complete Beginners (2022)
Compression is, without a doubt, one of the most misunderstood audio effects out there. It is an essential mixing tool that causes a lot of confusion amongst beginner producers.
If you’re looking to improve your mixdowns, it’s important that you fully understand what compression is and how to use it.
Using compression incorrectly (particularly over-compressing a sound) can completely ruin your mixes. Over-compression can make a track sound “stuffy”, imbalanced and incredibly amateur.
On the other hand, using compression correctly can add presence and impact to a sound, or “smooth out” any harsh peaks or resonances.
If you’re a complete beginner to compression, or simply looking to refresh your knowledge, it’s crucial you important the fundamental concept of compression. After that you can move on to applying it to your own sounds.
Contents (Click to scroll):
• What Is Compression? | The Basics
• How to Use Compression | The Controls (Threshold, Ratio etc.)
• How to Use Compression | Mixing tips for adding professional-sounding compression
What Is Compression? | The Basics
In a nutshell, compression is used to reduce the dynamic range of a sound. This means that the louder parts of the sound are reduced, allowing you to increase the sounds volume while the high peaks of the sound are more controlled.
A few very common examples of compression in the real world:
• Guitar – If you are working with a recorded guitar sound, adding compression can smooth out the overall sound, reducing the “twangs” and loud peaks of the guitar performance. It will also emphasise the “body” of the guitar sound as well. After compression, the audio will sit much better in the final mix.
• Piano – This is a similar concept to guitar compression. If a piano performance has loud chord transients, compression can smooth out the peaks and give a smoother, more rounded piano sound.
• Drums – Compression is extremely common when mixing drum sounds. For example, adding compression to a kick drum can reduce the initial peak of the kick, therefore adding presence to the body of the kick just after the main peak. Drum compression is used heavily in various electronic genres, including dubstep, trap and future bass.
Compression can be used to massage the dynamic content of a sound, and make it more “comfortable” to listen to. If done correctly, it can add life and clarity to an otherwise dull, uninteresting sound, while simultaneously reducing any harsh peaks.
How to Use Compression | The Controls
Compressors often come with a set of parameters to finetune the added compression. Whether you’re using hardware or a compression VST plugin, the controls are usually fairly similar. Understanding these fundamental controls will allow you to use a wide range of compressors effectively.
Threshold
The threshold control (dB) determines the level at which the sound will be compressed.
So if you set your threshold to -8 dB, the sound will ONLY be compressed when it goes over -8 dB.
If you set the threshold to -5 dB and the sound never goes over -5 dB, the compressor will do absolutely nothing.
Ratio
However, if you do set the threshold to a specific amount and your sound is peaking over that threshold, your compressor still might not be having any effect.
In order for your compressor to start compressing the sound, you need to change the ratio parameter.
Compression ratio specifies the amount of attenuation applied to the signal. So if your threshold is set to -8 dB, the ratio will determine how much the sound is compressed by when it goes over -8 dB.
Usually the default ratio on a compressor will be set to 1:1, this means that a signal exceeding the threshold by 1 dB will be reduced to 1 dB. In other words, the compressor will have no effect.
However, if we set the ratio to 2:1 – if a signal exceeds the threshold by 2 dB, it will be reduced to 1 dB. If a signal exceeds the threshold by 1 dB, it will be reduced to 0.5 dB.
If we set the ratio to 3:1 – if a signal exceeds the threshold by 3 dB, it will be reduced to 1 dB. If a signal exceeds the threshold by 6 dB, it will be reduced to 2 dB.
Once you get your head around this part, everything else starts to make a lot more sense. Remember: the ratio specifies the amount of attenuation applied to the signal over the specified threshold.
Generally speaking, a ratio of 2:1 to 3:1 is fairly subtle / moderate compression. A ratio of 5:1 would class as medium, fairly noticeable compression, and 8:1 upwards is strong compression.
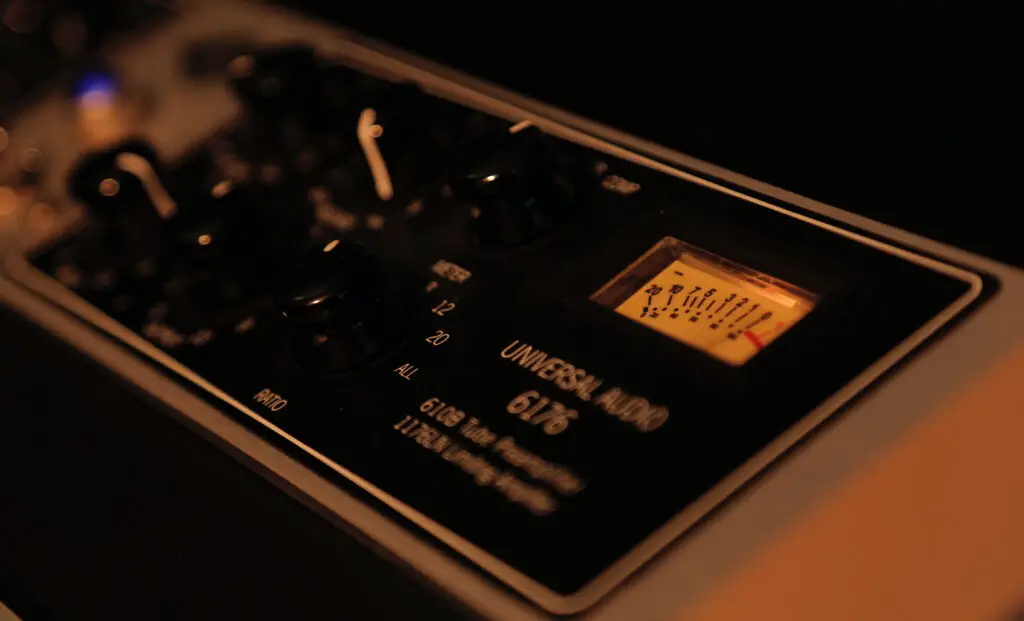
Knee
The “knee” parameter determines the nature of the TRANSITION from the uncompressed sound to the compressed sound.
Usually, compressors offer “hard knee” and “soft knee” options, or the option to select a position between the two.
Hard Knee: This means as soon as the signal reaches the threshold it gets fully compressed, with no “curved” transition between the uncompressed and compressed sound. This is much more noticeable to the listener.
Soft Knee: This results in a smoother, curved transition into the compressed sound. This gives a “softer”, more subtle compression effect.
Attack
The attack time determines the time it takes for the signal to become fully compressed after exceeding the threshold level.
The faster you set the attack, the faster your sound will be compressed.
Attack time is measured in milliseconds (ms). A fast attack time is usually between 0 ms and 0.6 ms, whereas slower attack times can be anywhere between 10 ms to 100 ms. If you set the attack time any higher than this, it can often become difficult to hear the compression at all.
Be careful when using extremely fast attack times, as this can sometimes add distortion to the low-end frequencies of your sound.
Release
The release time is essentially how long it takes the sound to go from compressed back to the original uncompressed sound.
Release times are considerably longer than attack times, ranging anywhere from 40ms to 2-5 seconds.
How to Use Compression: Tips
If you’re a beginner, here are a few quick tips to get incredible-sounding compression like the pros.
• Make use of “Parallel Compression” – This is essentially mixing the compressed and un-compressed sound together, to blend the sonic characteristics of both. This boosts the quieter parts but retains the transient peaks of the original sound. The best way to do this is to use a compressor with a dry/wet signal knob. Simply add some strong compression, then begin decreasing the wet signal so more of the uncompressed sound can be heard. There’s no magic formula for this one, you need to simply trust your ears.
• Don’t over-compress – Not every sound in your track needs to be compressed. Only add compression when there’s a specific reason to do so. For example, if you want to add some punch to a kick; add compression. However, if you have a kick sample that already has enough power and transient impact, don’t just add a compressor just for the sake of it.
• Sidechain compression – This is most commonly known as an EDM technique for sidechaining various instruments to the kick, resulting in a huge, overstated kick drum sound. However, sidechain has many other uses, including ducking long-tail reverbs out of the way of acoustic guitars, to ducking cymbal noise to allow the snare to cut through the mix.
• Always trust your ears – There are plenty of “rules” and guides to compression out there, and often they can be quite helpful for beginners. However, you should always trust your ears, as every mix is different. If it sounds good, it sounds good.

How to Use Compression | Tutorial: Similar Articles
The 8 Best Compression VST Plugins on the Market (2022)
How To Mix Vocals like a Pro in 2022 (6 QUICK TIPS)
5 Biggest Mixing Mistakes and How to Fix Them (2022 Music Mixing Tips)